3. 如何設定您的 UPS® Pickup Point 主控台
透過 UPS® 取件點儀表板操作,可有效管理與您的用戶端鍵值關聯的 Placard。
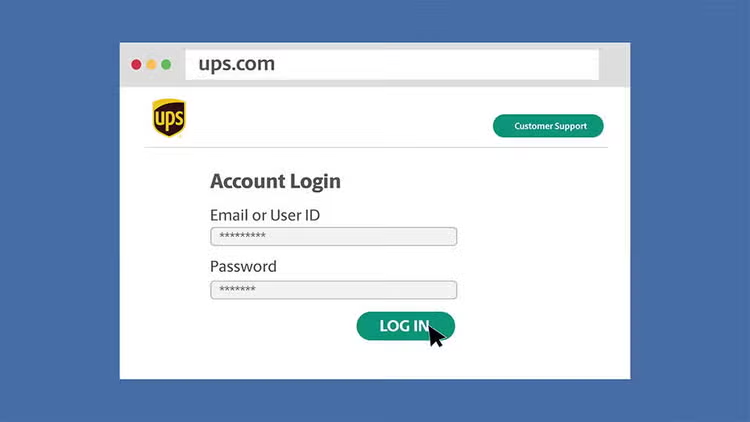
第 1 步:登入您的 UPS 帳號
- 首先,請在 UPS.com 登入您的帳號。
- 登入後,在地址列輸入 UPS.com/upplm/dashboard。
- 如果您需要開啟設定,請聯絡您的 UPS 客戶經理。
第 2 步: 瞭解主控台概覽
(如果您只看到搜尋列,請聯絡您的實驗室 Quantum View Administration 或您的 UPS 客戶經理進行開啟設定。)
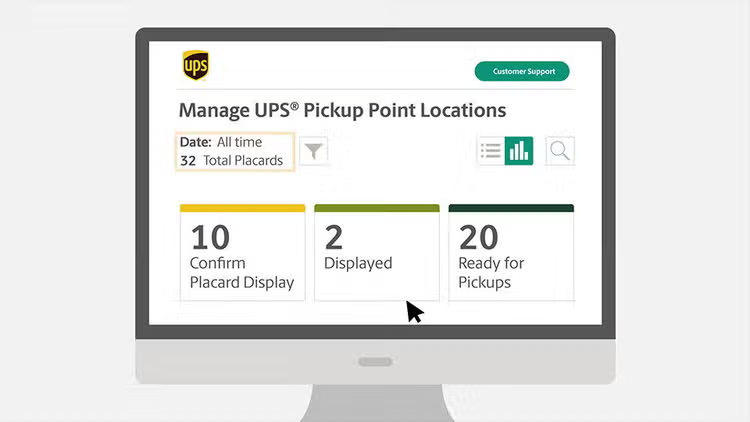
成功登入後,您將看到與您的用戶端金鑰相關聯的所有 Placard 的摘要:
- 此摘要有助於在導入期間識別每個取件的地點狀態。
- 您可以使用篩選圖示調整超過 30 天的顯示時間範圍。
第 3 步: 導覽主控台動態磚
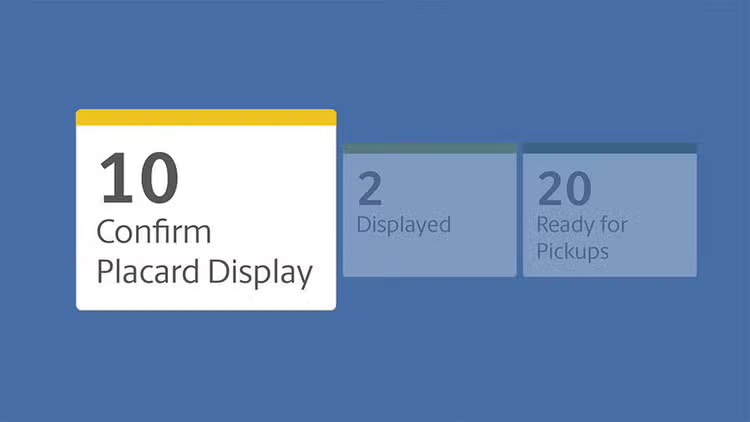
您將在主控台上找到三個主要動態磚:
- 確認 Placard 顯示:顯示需要確認的 placard。請使用此功能,以協助您的收件地點進行確認所需的協助。
- 顯示的動態磚:顯示已確認的 placard,正在等待其初始取件日期。一般來說,這些會在所列日期之後的週一生效。
- 取件就緒:列出有效的取件地點。選取連結以取得這些網站的詳細資訊。
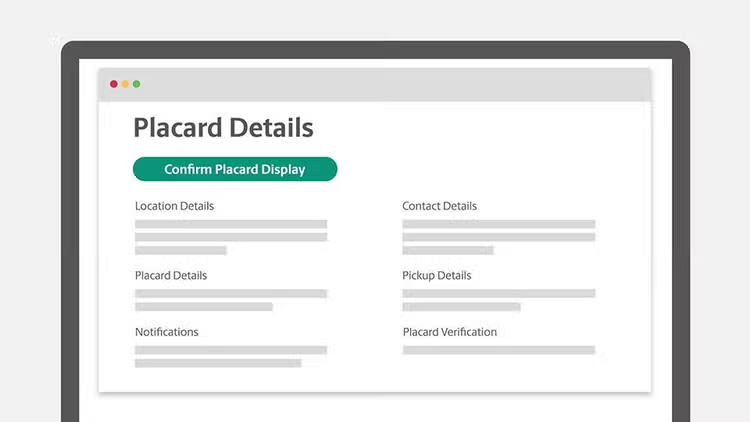
第 4 步: 探索 Placard 詳細資料
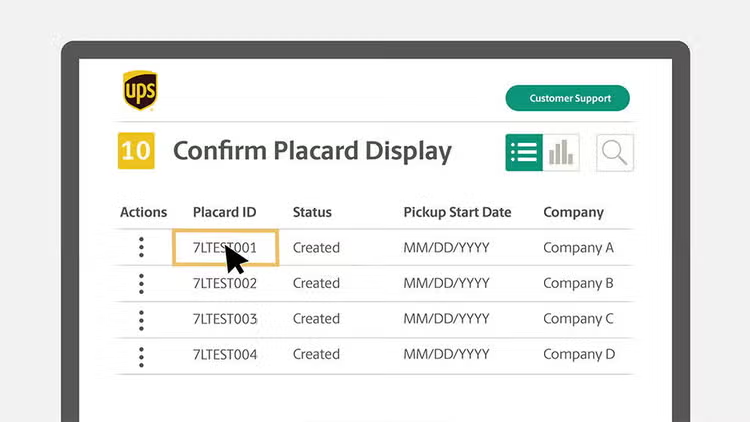
- 按一下「清單檢視」以查看所有 placard 的詳細資訊。
- 按「Placard ID」以檢視個別詳細資訊,並在需要時完成確認。
第 5 步: 管理 Placard 確認
- 按一下「確認 Placard Display」以檢視待確認的 placard。
- 使用「操作」下拉選單儲存並根據需要以電子郵件發送 placard。
- 透過「Placard ID」連結完成確認。
第 6 步: 更新 Placard 資訊
- 如需更新或變更,請聯絡 placard 上的聯絡人,並提供相關的 placard ID。
更多資源
做得好! 現在您已經掌握了 UPS Pickup Point 主控台,管理客戶的導入流程將比以往更有效率。